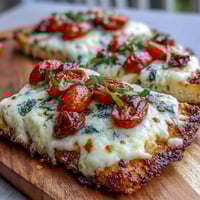
 Pin It
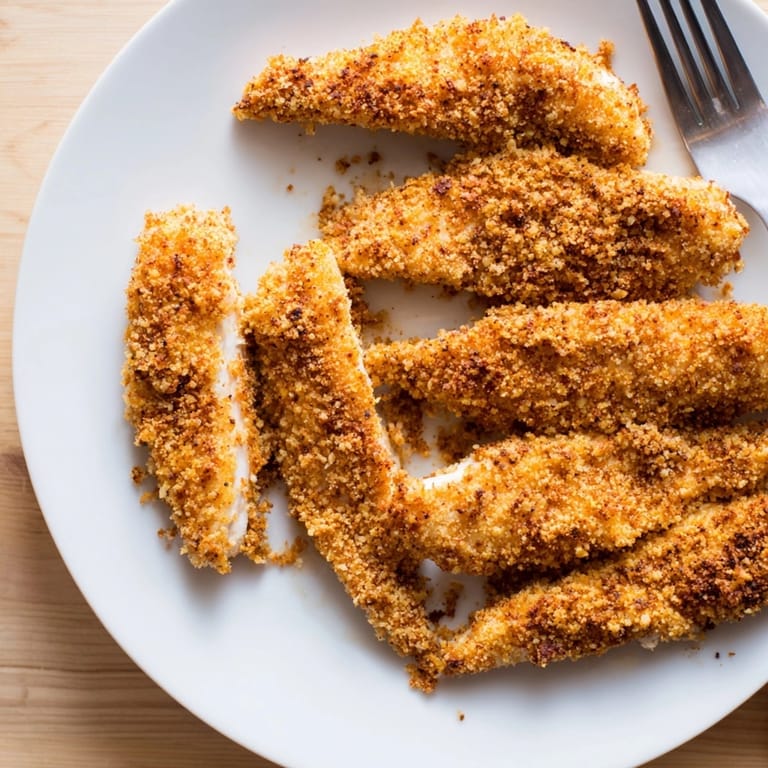
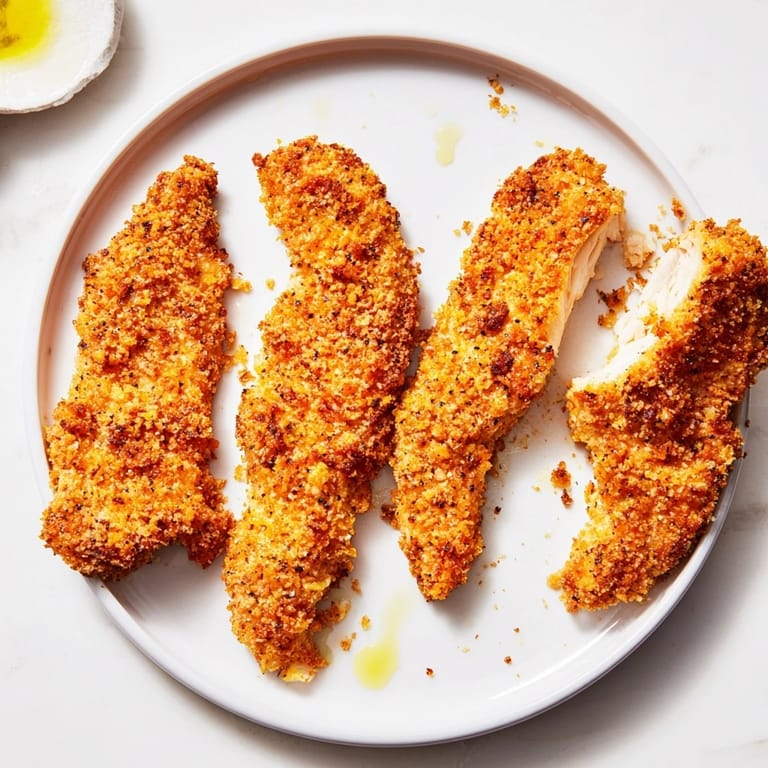
 Golden crunchy chicken tenders baked instead of fried are my answer for a healthier family favorite that never disappoints. These come out juicy inside with a crispy coating that makes everyone at the table smile plus, they are easy enough to whip up any night of the week.
I grew up on the frozen version of these but once I tasted my first homemade batch I knew I could never go back. My little one asks for them every Friday now and I love being able to say yes.
Ingredients
- Chicken tenders or boneless skinless chicken breasts: sliced into strips these cook quickly and stay juicy look for fresh chicken without added water or fillers
- Panko breadcrumbs: give unbeatable crunch use unseasoned for control over salt and flavor
- Cornflakes crushed: these amplify crunchiness and add subtle sweetness make sure to use plain varieties
- Garlic powder: for savory depth opt for a fresh bottle for full flavor
- Paprika: for warm color and mild spice choose smoked or sweet depending on your preference
- Salt: elevates all the flavors go for fine sea salt for even distribution
- Black pepper: balances the crust with a hint of heat freshly ground is best
- Eggs: help the breading stick choose large and fresh
- Milk: thins the egg wash for even coating whole milk works best
- Olive oil spray or olive oil: helps the coating crisp in the oven use extra virgin if possible for richer taste
Tired of Takeout? 🥡
Get 10 meals you can make faster than delivery arrives. Seriously.
One email. No spam. Unsubscribe anytime.
Instructions
- Preheat the Oven:
- Start by heating your oven to 425 degrees Fahrenheit 220 degrees Celsius and prepare a baking sheet lined with parchment paper or lightly greased to prevent sticking
- Make the Breading Mixture:
- In a wide shallow bowl combine panko breadcrumbs crushed cornflakes garlic powder paprika salt and black pepper mix well to distribute the seasonings evenly which is vital for a flavorful coating
- Prepare the Egg Wash:
- In a separate bowl whisk together the eggs and milk until the mixture is smooth and light yellow this creates the glue that helps breading stick to the chicken
- Dry the Chicken:
- Pat your chicken tenders dry with a paper towel removing surface moisture so the breading adheres better and the chicken crisps more fully while baking
- Bread the Chicken:
- Working with one piece at a time dip each chicken strip first into the egg mixture coating all sides then transfer to the breadcrumb mixture pressing firmly so the coating clings and covers thoroughly
- Arrange and Oil the Tenders:
- Lay the prepared chicken strips on the baking sheet in a single layer leaving space so heat circulates then spray or drizzle with olive oil for ultimate crispiness
- Bake the Tenders:
- Bake in the preheated oven for eighteen to twenty minutes flipping the tenders halfway through so both sides brown evenly check for a golden color and ensure they reach an internal temperature of one hundred sixty five degrees Fahrenheit seventy four degrees Celsius
- Rest and Serve:
- Let the tenders rest on the pan for two or three minutes before serving this helps juices redistribute so every bite is tender and moist
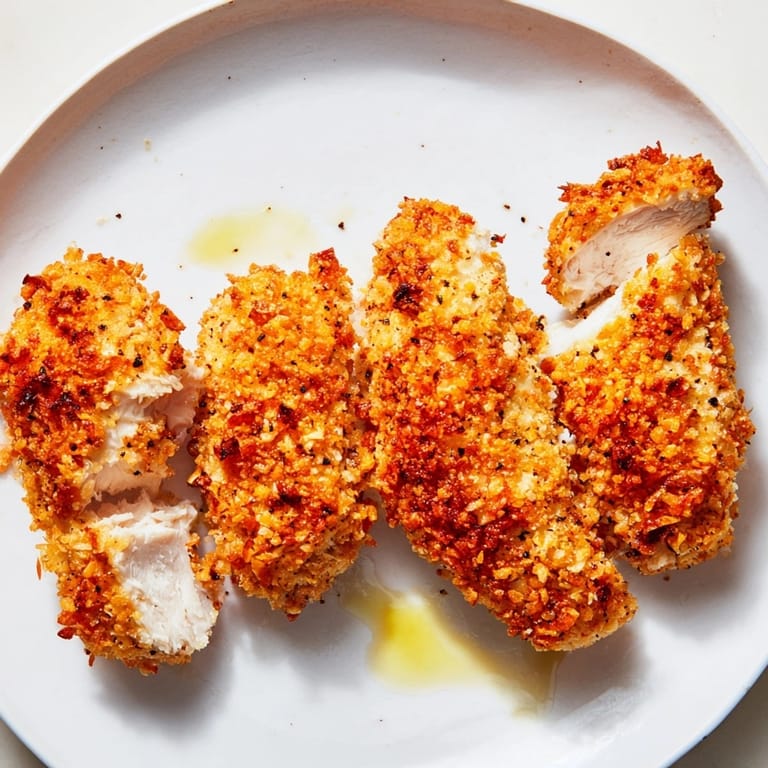
 Pin It
 I absolutely love cornflakes in the coating. My grandma used to make all her oven fried chicken this way and the extra crunch is always a happy nostalgic bite for me. Sometimes my kid helps with the dipping and loves sneaking little crunchy bites before baking.
Storage Tips
Let leftover chicken tenders cool fully then store them in an airtight container in the fridge for up to three days. Reheat in the oven or air fryer to bring back the crisp texture. You can also freeze cooked tenders separated by parchment and reheat directly from frozen for school lunches or quick dinners.
Ingredient Substitutions
Swap regular breadcrumbs in place of panko if that is what you have but the result will be slightly less crispy. For dairy free simply omit the milk and thin the eggs with water. Gluten free versions work perfectly with gluten free panko and cornflakes just make sure they are certified gluten free.
Serving Suggestions
Serve hot chicken tenders with a trio of favorite dips like honey mustard tangy barbecue or creamy ranch. They also work great over salads in wraps or as a fun taco filling with slaw. For a classic combo pair with oven baked fries and fresh cut veggies.
Cultural and Historical Context
Baked chicken tenders are a beloved American creation inspired by Southern fried chicken but adapted for modern kitchens. The panko and cornflake combo is a smart twist borrowed from convenience foods and the drive to eat healthier without sacrificing comfort.
Seasonal Adaptations
Add dried Italian herbs for a Mediterranean flavor in summer Mix in a little curry powder to the breading for an autumnal twist Crumble extra cornflakes on top before baking in winter for even more crunch
Success Stories
I once prepped a double batch of these for a birthday picnic and they disappeared faster than the cake. Neighbors still ask for the recipe every time we have a potluck. The make ahead option makes it easy to feed a crowd without stress.
Freezer Meal Conversion
Bread raw chicken tenders and freeze them in a single layer then transfer to a bag. Bake directly from frozen with five extra minutes for a last minute dinner that tastes freshly made every time.
 Pin It
 Enjoy these chicken tenders hot with your favorite dip. They are always a hit at the dinner table and are great for leftovers too.
Recipe Q&A
- → How do I make the chicken tenders extra crispy?
Spraying or drizzling the coated chicken strips with olive oil before baking helps achieve a crisp golden crust.
- → Can I use chicken breasts instead of tenders?
Yes, slice boneless, skinless chicken breasts into strips for similar results and even cooking.
- → What dipping sauces pair well?
These pair perfectly with honey mustard, ranch, barbecue sauce, or classic ketchup for extra flavor.
- → Can I prepare in advance?
Yes, coat the chicken strips ahead and refrigerate up to four hours before baking for convenience.
- → How can I make this gluten-free?
Substitute gluten-free panko and cornflakes to enjoy a crunchy, wheat-free version of this dish.