 Pin It
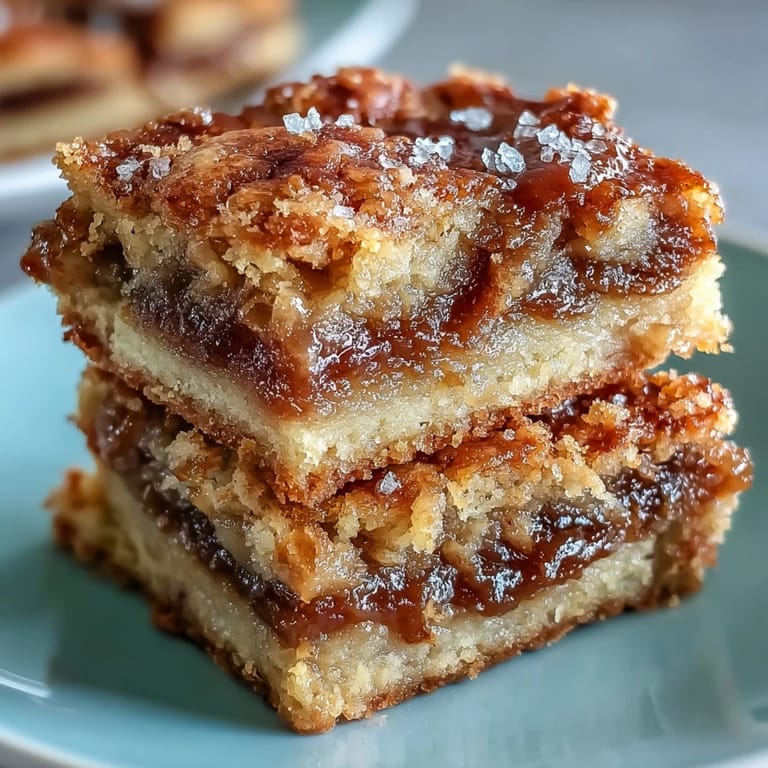
 My neighbor Maria brought these to a block party one sweltering August afternoon, and I watched them disappear faster than anything else on the dessert table. The golden cake was so tender it practically melted, and that layer of guava in the middle hit like a sweet revelation. She handed me the recipe scribbled on the back of a grocery list, and I've been making them ever since, usually when I need something that feels both simple and impressive at the same time.
I made these for my daughter's school bake sale and kept one pan at home, sneaking bars throughout the week while pretending I was just quality-testing. My son found half of one hidden behind the oat container and suddenly understood why I'd been so mysteriously protective of that corner of the kitchen.
Ingredients
- All-purpose flour (2 cups): Use whatever you have on hand, but spoon and level it instead of scooping straight from the bag to avoid packing too much in.
- Baking powder (1½ teaspoons): This is your lift, the thing that keeps these from becoming dense, so make sure yours isn't lurking in the back of the cabinet expired.
- Fine sea salt (¼ teaspoon): Just a pinch, but it wakes up the sweetness and keeps the cake from tasting one-dimensional.
- Unsalted butter (½ cup, softened): Leave it on the counter for an hour or so—when it yields to a gentle thumb press without leaving a dent, you're there.
- Granulated sugar (¾ cup): This creams with the butter to build air into the batter, which is where the tender crumb comes from.
- Large eggs (3, room temperature): Cold eggs seize up the batter, so pull them out before you start mixing and they'll blend right in.
- Vanilla extract (1 teaspoon): A small amount but it rounds out the flavor in a way people can't quite name.
- Whole milk (⅓ cup): The alternating wet and dry keeps the batter silky instead of tough.
- Guava paste (12 oz, sliced into strips): This is the soul of the bar, so hunt down a good one from a Latin market if you can—the difference is night and day.
Tired of Takeout? 🥡
Get 10 meals you can make faster than delivery arrives. Seriously.
One email. No spam. Unsubscribe anytime.
Instructions
- Set your stage:
- Preheat the oven to 350°F and line your 8x8 baking pan with parchment paper, making sure there's enough hanging over the edges so you can lift the whole thing out later. This little step saves you from destruction when the bars cool.
- Build the dry foundation:
- In a bowl, whisk together flour, baking powder, and salt until they're evenly distributed. This small act aerates the flour and distributes the leavening, so don't skip it even though it feels simple.
- Cream butter and sugar:
- Beat softened butter with sugar until it's pale and fluffy, which takes about two minutes with an electric mixer. This is where the air gets incorporated, and you'll notice the texture shifts from grainy to almost cloud-like.
- Add eggs one at a time:
- Drop each egg in separately and beat well after each addition so it fully incorporates before the next one goes in. This prevents a curdled look and ensures even distribution.
- Fold in vanilla:
- Mix in the vanilla extract until it's dispersed, which takes just a few seconds. The aroma shifts at this point, getting richer and rounder.
- Alternate wet and dry:
- Add a third of the dry mixture, then half the milk, then another third of dry, then the remaining milk, finishing with the last of the flour. Begin and end with flour to keep the batter emulsified, and stop as soon as everything is combined—overmixing develops gluten and toughens the cake.
- Layer the dough:
- Spread exactly half the batter into the prepared pan, evening it out with a spatula. This base is what cradles the guava and keeps it moist.
- Arrange the guava:
- Lay the guava paste strips in a single layer across the dough, leaving just a tiny margin around the edges. If you have gaps, the guava seeps into the cake and gets a bit dark, which isn't terrible but not quite the intended look.
- Top with remaining dough:
- Spread the rest of the batter over the guava layer, using a damp spatula or slightly wet fingers to seal the layers together. This creates a cohesive bar instead of separate layers that might slide apart.
- Bake until golden:
- Bake for 38 to 42 minutes, checking at the lower end of the range since ovens vary. The top should be golden and a toothpick inserted into the cake (avoid the guava center) should come out clean.
- Cool and cut:
- Let the entire pan cool to room temperature on a wire rack, which takes about an hour but is worth the patience. Once cool, lift out using the parchment overhang and cut into 16 squares with a sharp knife, wiping it clean between cuts to avoid dragging guava.
 Pin It
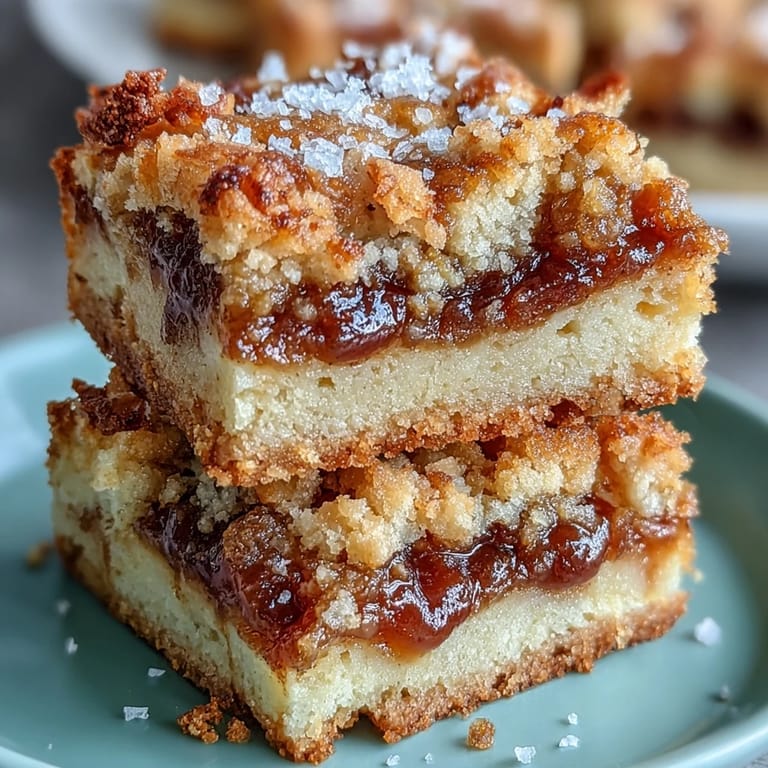
 There's something about serving these to someone who's never had them before—that moment when they bite through the tender cake into the fruity center and their eyes light up. It's become my unofficial contribution to every gathering because it's the kind of dish that people ask about, remember, and then request by name next time.
Choosing Your Guava Paste
Not all guava paste is created equal, and this is where the recipe can either soar or fall flat. I learned this the hard way by grabbing whatever was available at a regular grocery store, only to end up with something grainy and overly sweet. A proper guava paste from a Latin market has a smooth, dense texture and a complex flavor that tastes like actual guava, not just sugar with fruit coloring. It's worth the extra trip or online order because it fundamentally changes how good these bars become.
The Science of Layering
The reason you spread half the batter first, then the guava, then the remaining batter is that guava paste is dense and would sink straight to the bottom otherwise. The bottom layer acts like a raft, keeping everything suspended at the perfect height so you get cake, guava, and cake in every single bite. This structure also protects the guava from direct heat, so it stays moist and jammy instead of caramelizing into something tough.
Storage and Variations
These bars keep beautifully in an airtight container at room temperature for up to three days, and some people swear they're even better on day two when the flavors have melded. You can also freeze them for up to two months, wrapping them individually in plastic wrap so you can pull out one or two without thawing the whole batch. If you want to experiment, try adding a quarter teaspoon of lime zest to the dough for a tropical twist, or swap half the guava paste for a thin layer of cream cheese to make them richer and slightly tangy.
- These freeze beautifully, so make a double batch and store half for unexpected guests.
- A dusting of powdered sugar on top is optional but makes them look bakery-quality.
- If your guava paste is very thick, slice it thinly so it cooks through and melds with the cake.
 Pin It
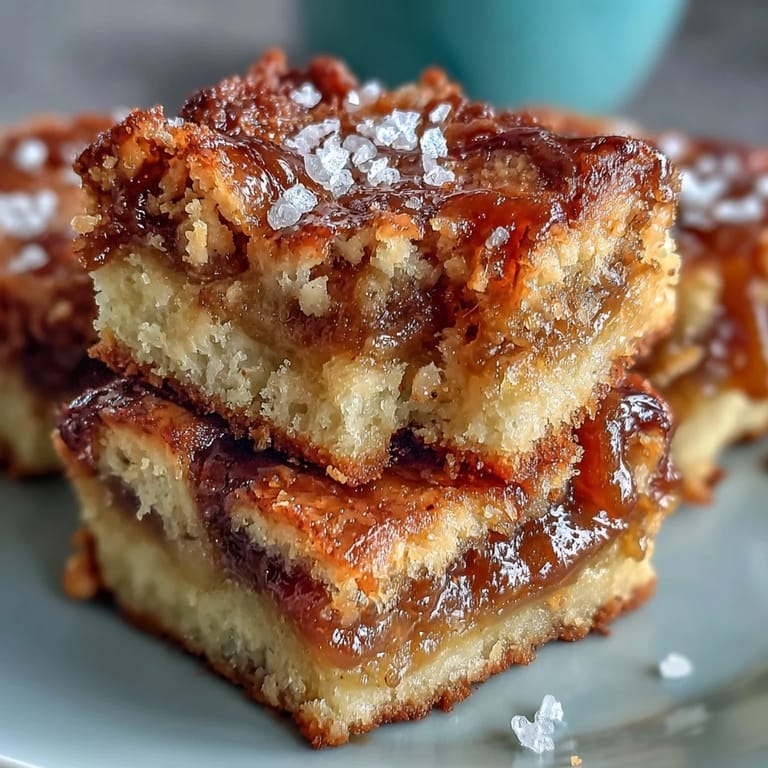
 These bars have become my answer to almost every dessert occasion because they're approachable enough for a casual Tuesday but elegant enough for company. Once you make them once, you'll find yourself reaching for this recipe again and again.
Recipe Q&A
- → What does guava paste taste like?
Guava paste has a sweet, tropical flavor with notes of strawberry and pear. The texture is thick and dense, similar to fruit leather or membrillo, making it perfect for baking as it holds its shape while becoming tender and gooey when heated.
- → Can I use fresh guava instead of paste?
Guava paste is recommended because it contains concentrated sweetness and pectin that helps it hold its shape during baking. Fresh guava would release too much liquid and make the bars soggy. If unavailable, you can use membrillo (quince paste) or thick fruit preserves as alternatives.
- → Why is my dough difficult to spread over the guava layer?
The dough can be sticky and challenging to spread. Try chilling it briefly, then use damp fingers or a spatula coated with water to gently press and spread the dough. Alternatively, drop small pieces of dough over the guava and press them together to form an even layer.
- → How do I know when the bars are done baking?
The bars are ready when the top is golden brown and a toothpick inserted into the cake portion (avoiding the guava center) comes out clean or with a few moist crumbs. The edges should start pulling slightly away from the pan sides, typically after 38-42 minutes at 350°F.
- → Can I add cream cheese to the filling?
Absolutely! Many bakers layer thin strips of cream cheese alongside the guava paste for a tangy contrast that balances the sweetness. You can also mix softened cream cheese with the guava strips, though this may slightly increase the baking time.
- → How should I store guava cake bars?
Store the bars in an airtight container at room temperature for up to 3 days. For longer storage, refrigerate for up to a week—the cooler temperature actually helps the flavors meld. You can also freeze wrapped bars for up to 3 months and thaw them at room temperature.